The come back of “Chef Tan” during CMCO
On the last 9th of November 2020, the Government announced the enforcement of the “Conditional Movement Control Order” CMCO again for the whole peninsular Malaysia, except three states which are Perlis, Pahang, and Kelantan for four weeks from 9th November to 6th December 2020. This decision was made based on the Health Ministry’s risk assessment on Covid-19 infectivity in each state. I was staying in Penang, which means I had to follow standard operating procedures (SOPs) applied too.
Since it was during my semester break and I cannot go out too frequent, I was really bored during that time. Hence, I had decided to try making dishes or dessert that I had not been making before.
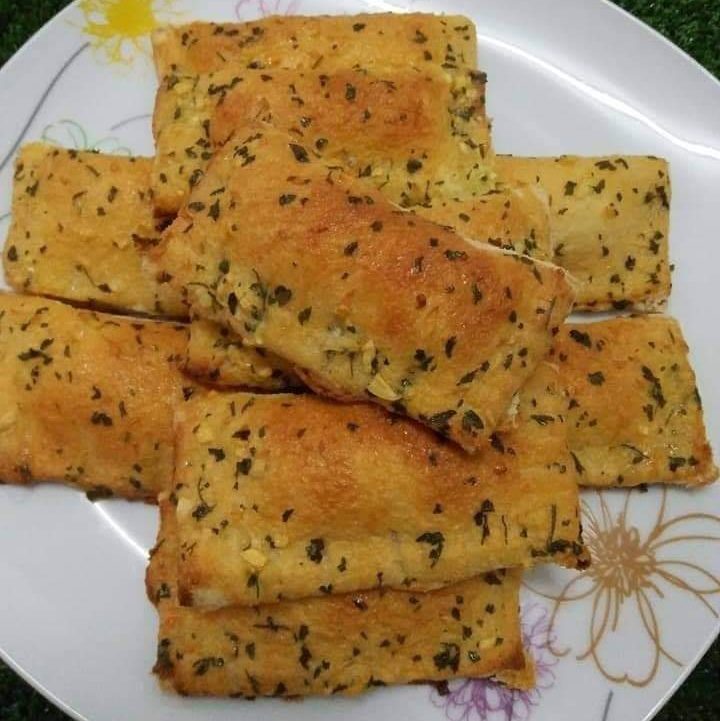
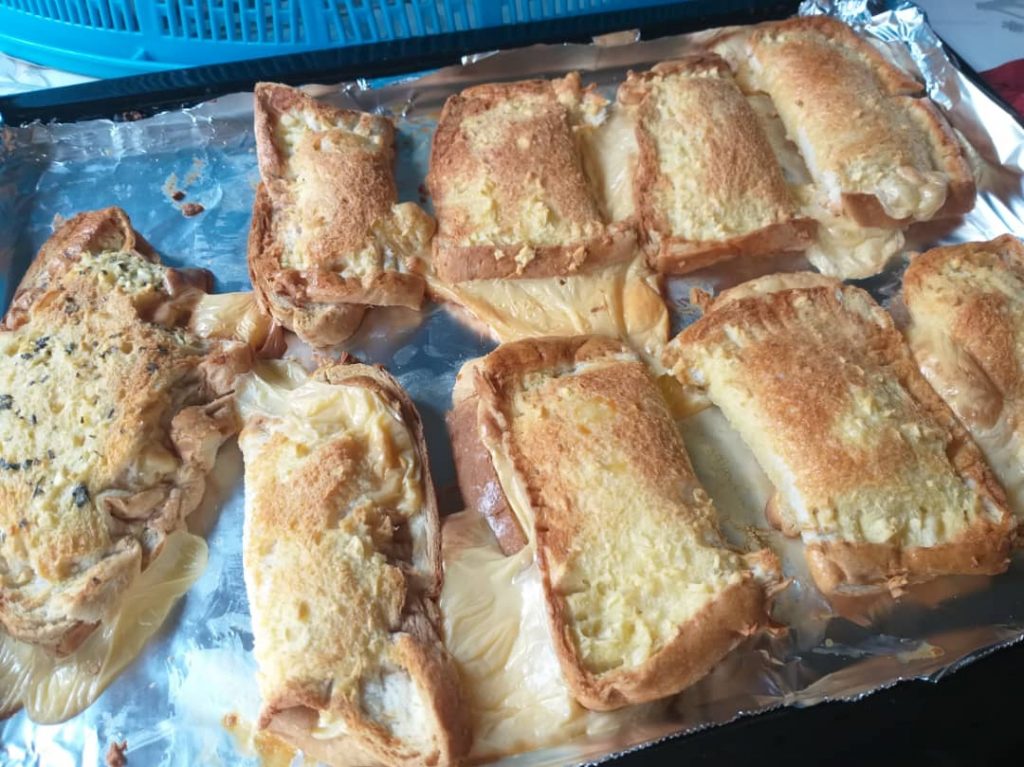
Korean Garlic Cheese Bread
Outer part ingredients: 4 slices of minced garlic, an egg, 150g butter, 1 tablespoon of honey, and some parsley.
Inner part ingredients: 150g Tartura cheese, 2 tablespoons of condensed milk, and 3 tablespoons of fresh milk.
These ingredients are to mix and stir well respectively. A layer of inset is spread at the inner side of the bread. Then, the bread is immersed into the outer part ingredients and the sides of the bread are pressed by using a fork. The oven is pre-heat at 160 degrees Celsius and then the bread is baked at 190 degrees Celsius for 25 minutes.
This is how my bread looks like compared to the one showed on the internet because I use a different type of cheese since I cannot find the Tartura cheese, so the cheese leaked out while I was baking the bread but it tasted good.
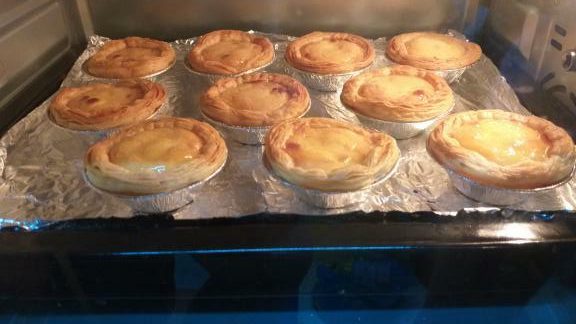
Portuguese Egg Tarts
Ingredients needed: 10 Frozen tarts. 110g fresh milk, an egg, an egg yolk, 40g fine sugar, and 180g whipping cream.
Fine sugar and fresh milk are mixed together and stirred until the sugar is fully dissolved. Then, the egg and egg yolk are mixed and stirred until it looks watery. Be reminded that it should not be stirred for too long since we do not want too many bubbles. These two mixtures are mixed together and stirred. They are then filtered with colander for at least three times to remove those bubbles for smoother texture. The filling is poured into each frozen tart until it is 90% full. The oven is pre-heat for 20minutes and the tarts are placed into the oven. They are baked with 200 degrees Celsius for 25 to 30 minutes. I also bought the ready-to-make puff filling for comparison. The puff filling that made by myself smells better and the texture are smoother. However, the ready-to-make puff filling taste creamier.
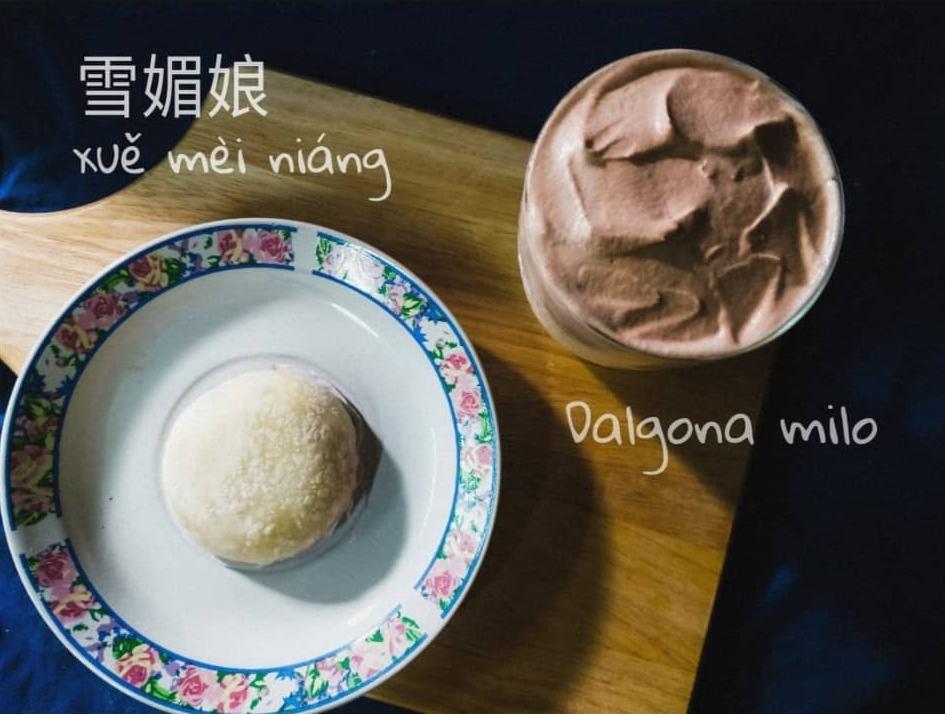
Cream-filled Snow Mochi Balls
Ingredients:
Dough skin – 120g glutinous rice flour, 30g corn starch, 60g caster sugar,160ml fresh milk, and 30g butter
Filling – 200ml whipping cream, 30g caster sugar, chocolate chips, and 50g fried glutinous rice flour.
First, glutinous rice flour, corn starch, caster sugar, and fresh milk are stirred well and steamed for 25 minutes. Then mix together 30g of melted butter with the dough and refrigerated for at least 30 minutes. The dough is then cut into small portions with approximately 25g weight each and stored in the refrigerator for 2 hours.
As for the filling, caster sugar is poured into the whipping cream and beat until it becomes wrinkle form.
Finally, it is mocha making time!
The skin is flattened and place in a small mould like this.
Then, the filling is scooped and placed onto the skin and followed by the chocolate chips.
The mochi is then “closed” by folding the skin, the mocha is inverted and your mochi is done!
Person who like sweet things will like it very much but as for me – not really a sugar “fans”, I can only eat a maximum of 2 mochis.
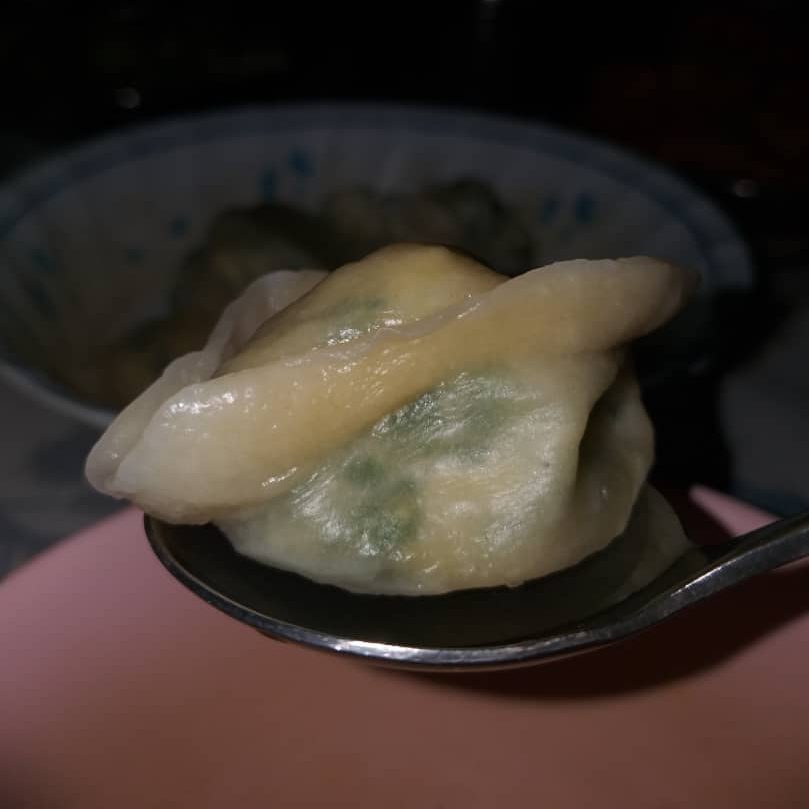
Egg and Chive Vegetarian dumplings
Ingredients: 250g chopped chives, 125g eggs, pepper, salt, sesame oil, chicken essence, and dumpling wrappers.
First, whisk the eggs in a bowl until the egg white and yolks are mixed together. Then, heat oil in a frying pan over medium-high heat, fry the eggs until light and fluffy, and cut into small pieces. Chives, pepper, salt, sesame oil, chicken essence, and scrambled eggs are mixed together, the number of spices added vary base on your preference. Approximately 1 tablespoon of the mixture is scooped into the center of a dumpling wrapper. Dip a finger in the water and smear along the edges of the dumpling wrapper. Then you can fold the dumpling into any shapes you like. It can be half-moon shape, purse-shaped, and so on. You may even create your own shape, just make sure that it seals well so the fillings will not leak out while you are cooking it.
There are three methods to cook the dumplings such as pan-frying, steaming, or boiling. To steam, boil a pot of water and then place the steamer with dumplings on it and steam for 10 to 15 minutes until tender. If you want to boil, a large pot is filled with 2/3 of water and cooked until is boiling hot. The dumplings are then placed into the boiling water. Cook until they float and continue to do so for another 2 to 3 minutes. If you would like to fry it, heat the cooking oil over medium heat in a frying-pan. Place the dumpling carefully onto the pan and cook for 2 to 3 minutes until the bottom of the dumpling looks crispy and become golden in colour. Then add water until it covers the dumpling halfway up, cover the pan and steam them for around 5 minutes until the water are gone. You may refrigerate the remaining dumplings if you want to.
I like boiled dumpling the most since I can cook it in any flavor of soup I like.
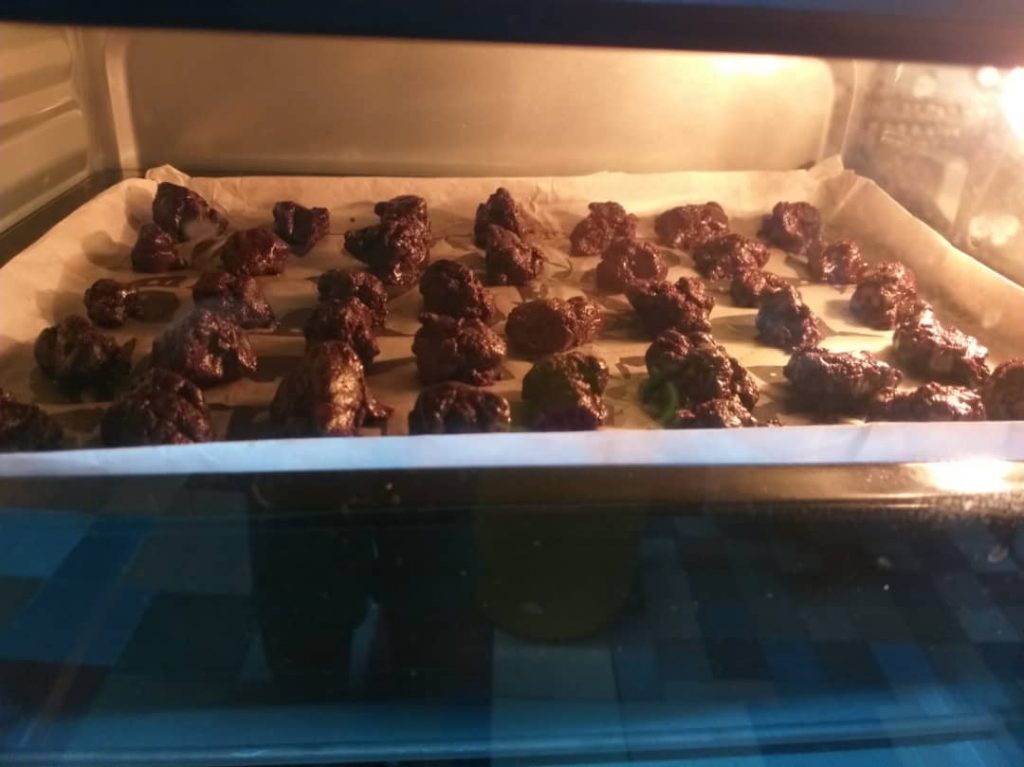
Chocolate chip cookies
Ingredients: 500g chocolate cookies powder, 250g dark chocolate chips, 125g butter, and an egg.
First, melt the butter into liquid state. Then, mix all the ingredients together. After that, press the mixture on a flat container and put it inside the refrigerator for around an hour. The mixture can then be reshaped into any shapes that you want by using a mould or just by your hand if your hands are really dexterous.
Before putting your cute cookies into the oven, do remember to pre-heat your oven to 160 degrees Celsius for 20 minutes. Then, your cookies can be inserted into the oven and baked with 150 degrees Celsius for around 40 minutes. Your cookies are now done and make sure to eat it after they are cooled down.
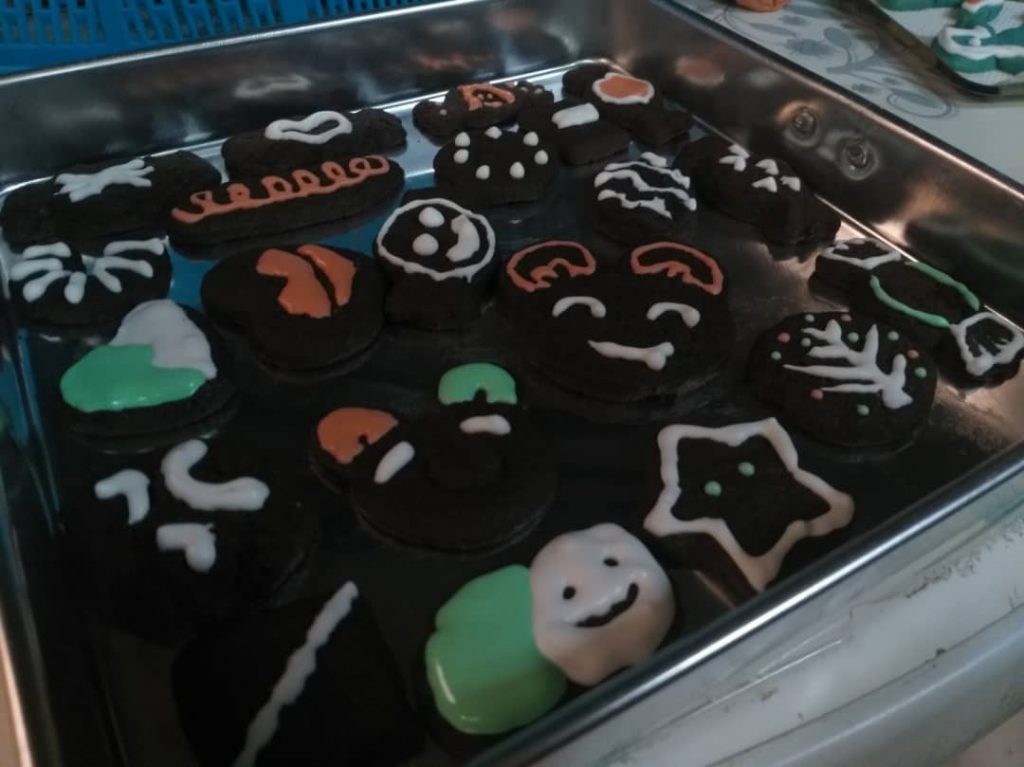
However, if you want your cookies to be more colourful. You can decorate them with simple sugar icing. Ingredients that you need are 2 eggs’ white, 230g of sifted icing sugar, a teaspoon of lemon juice and some food colouring gels if you need different colour for decoration. First, whisk the eggs’ white in a big bowl in a high speed until it becomes foamy. Sifted icing sugar and lemon juice are added gradually into the foamy egg white and beat with high speed until thickened. They are then filled into a plastic wrap and you may now start to decorate your cookies!
This is how my chocolate cookies look like and I made them during Christmas. A small tip for you about the texture of the cookies, if you prefer softer cookies, you may bake the cookies in a shorter time. However, if you like to eat crunchy cookies, you can make them thinner when reshaping and bake for a longer time.
This is my first time making all of these dishes and dessert and it is now your turn to try making all of them. Good luck!