Music Production
This blog post is about how I make my own music, all from the comfort of my bedroom! If you’re interested about music and it’s production, this is the perfect post for you.
In these times of technological advancement, everything has been made easy. Have you realised how easy our generation’s lives are compared to our parent’s generations? Well think about it, you have access to all the information in the world right at the tip of your fingers. While out parents and their parents before that had to struggle and look for whatever they needed to know through books and research. Take a look at the music side of things. How easy it has become to learn an instrument compared to generations ago when going for lessons was a must in order to learn an instrument. Now, all we need to do is go on Youtube and some random guy from America can teach us all we need to know to learn how to play a guitar, for example, all just in one video. And for free might I add. So, with the advancement of technology, it has become possible for anyone to make music from the comfort of their homes. Music studios are becoming increasingly irrelevant if one is pursuing music, as you can have a studio right away by downloading a music production software online and turning your own computer into a studio. Sounds amazing right?

Artists such as Russ, come as an inspiration to many up and coming artist that produce their own music as he also started by producing his own music and sometimes still delves into producing his own music although he is well established and could easily hire people to produce his music for him. In an article by Forbes Magazine titled, ‘The Art Of Being Self-Made: A Conversation With Russ’, Russ talks about being an independent artist. He talks about how he kicked off his career recording in a basement without any types of relationships or teams. He began a 10-year journey to achieve his goal of becoming one of the most established rappers in the world. He spent around 10 years learning about music production before stepping into the spotlight. Being an independent artist means a decision to not sign with any record labels or talent organizations but instead, starting from scratch and building up your own blueprint for success. Russ also tends to give advice and tips to anyone who asks for it. He often tweets his thoughts and any advice he would like to give his followers which is where I got the idea of producing and selling my own music. There are also tons of other artist who have done this such as Chance The Rapper and Lil Pump.
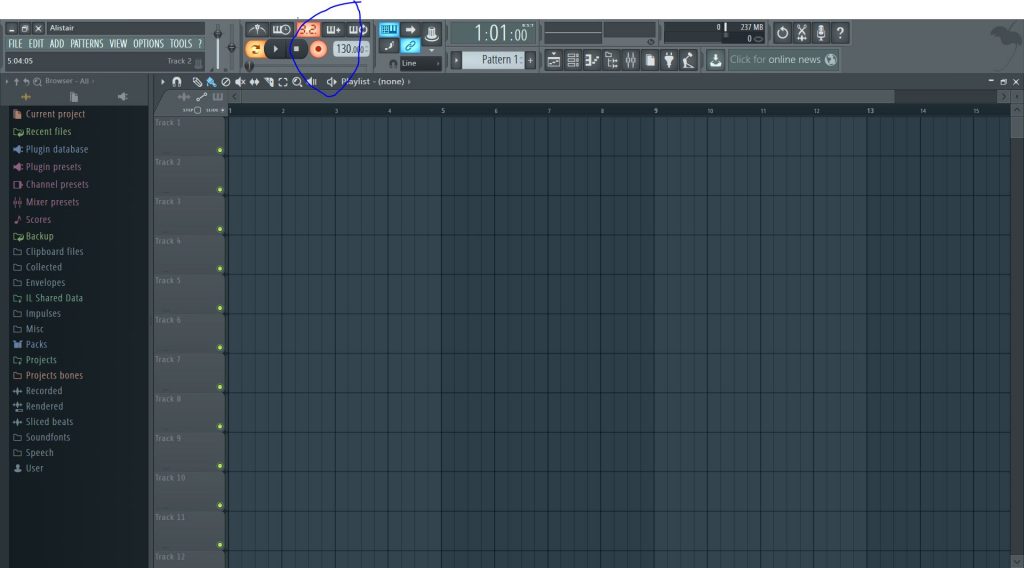
Russ favours the Logic Pro X music production software that is only available on Apple products. The one that I prefer is FL Studio 12 which is available on all types of computers and is also one of the easiest to understand. There are other types of music production softwares you could purchase as well such as Ableton Live, Avid Pro Tools, Propellerhead Reason and many others. Each of these softwares have their own benefits and it depends on the user on which one he would prefer but for this blog post, we will be mainly discussing FL Studio 12. There are plenty of music production courses that you can take online, some of which costs a lot of money, but I prefer just watching Youtube videos to learn more.

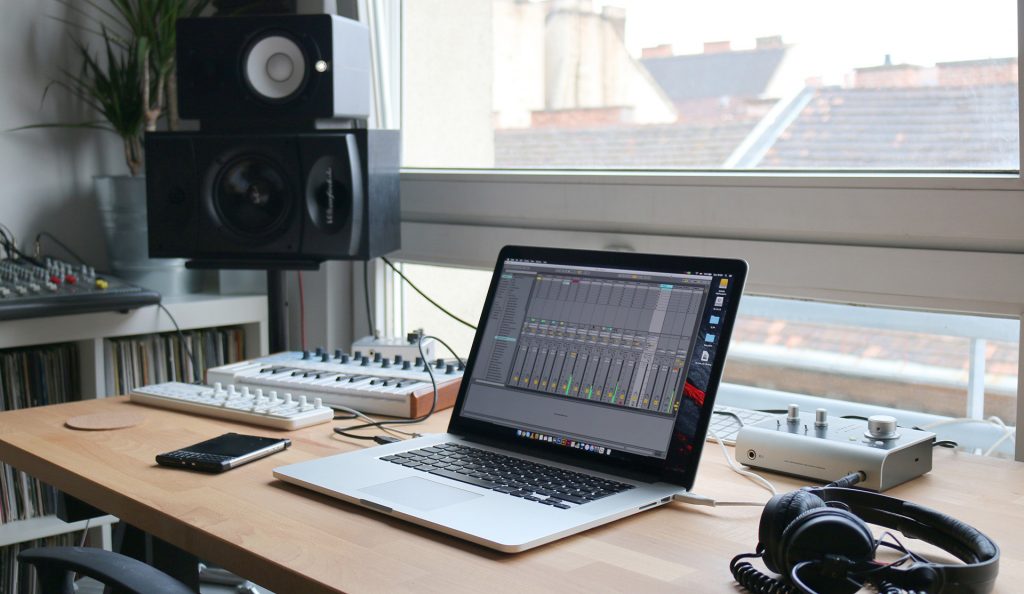
So, the first step of music production is to set up your home studio. Basically, all you need is a microphone, any types of instruments (you don’t even need to have an instrument), an XLR Cable (Microphone Cable), TS Cables (Guitar Jack), a USB Interface, and a passion for music. You can get all this from any local music store or online (https://www.musicbliss.com.my/) as it’s the basic items every music producer needs. Next you can purchase FL Studio online directly from their website. (https://www.image-line.com/flstudio/). After you have all this, you can start with the creation of your masterpiece.
How I always make my music is by finding a nice chord progression on the guitar. I learned the guitar mainly by watching Youtube Videos as I prefer not to have people yell at me for playing a C Minor instead of C Major. In videos, the teachers cant scold you for making tiny mistakes. The videos that I commonly watch are (https://www.youtube.com/user/seandaniel23) and (https://www.youtube.com/user/jraciti1). To me these are the only videos you need to really learn an instrument. In this case guitar and piano.

Next, you want to record your new found song into the music productions software. After you have connected your interface to your computer, your instruments and microphone into the interface everything should go smoothly. Instructions are given in the USB Interface box so it should not be a problem to record. Once you’ve recorded it, you can start playing around with drum beats to give your song a beat to follow. This is the part I dislike the most because I do not know how to play the drums. So, through countless days of listening to every song ever, I eventually learnt how to produce a nice sounding drum beat. You can start like this, firstly the kicks (which are the deep sounding drums), then the snares (which are the drums that sound like claps) then lastly the hats (which are the really thin and crisp sounding part of the drums). There are plenty of different types of drum beats that are already inside FL Studio which are given to the user. If you don’t like how their drums sound, you can always download plugins which can be found online. There are some free plugins but the majority of them have to be bought. I downloaded two free plugins which I found a few months ago but can’t seem to find the link anywhere now, lucky me right.
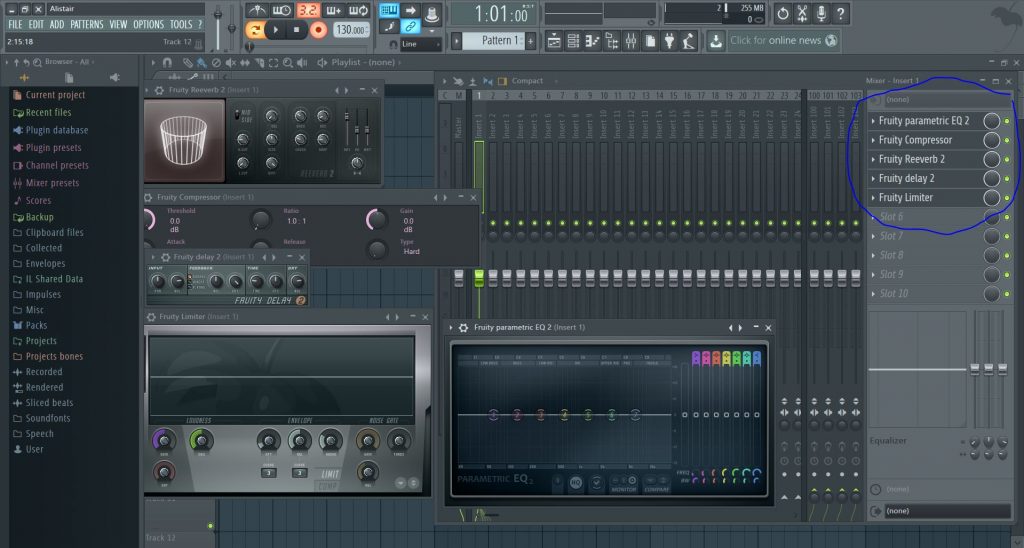
After all that is done, you can start to record your vocals into the software. This can be done using the microphone you just bought. Once that is done, now the mixing begins. Each of the instruments should be linked to a different channel and you can name the channel for ease. Effects should be put on each of the channels in order to make the instruments better or more realistic. The same can be done for vocals in order to make it sound clearer. The effects that I normally use are Parametric Eq 2, Fruity Delay 2, Fruity Reverb 2, Fruity Limiter and Fruity Compressor.
Each of these effects have their own functions. I will try my best to explain them to you. The Parametric Eq is used to control 3 aspects, levels, frequency and range of the recording. This lets you change how the recording sounds and suit it to your needs. Next, the Fruity Delay is used to delay a recording by a few seconds, basically like an echo. Besides that, the Fruity Reverb is to make a recording sound more wet. What does wet mean? It means it gives the recording a fuller sound so it doesn’t sound too thin. Furthermore, the Fruity Limiter is used to boost the volume of a sound and to remove any undesirable noises that are in the recording. Lastly the Fruity Compressor is used to reduce the dynamic range of a recording by bringing down the level of the loud parts.

So I’ve done my part in helping you get started in music production. The way I learnt and got better at it is by constantly playing around with all the effects and plugins this software has. I hope this was beneficial to you.
